
Before starting with this post, we should ask ourselves what is Charles.
“Charles is an HTTP proxy / HTTP monitor / Reverse Proxy that enables a developer to view all of the HTTP and SSL / HTTPS traffic between their machine and the Internet. This includes requests, responses and the HTTP headers (which contain the cookies and caching information).” Charles
Now, for what we can use Charles?. Basically to debug network requests in our apps. There are a lot of time that we as a Developer, wants to change some requests to see if it fails, or force the app to receive a wrong value to see how our app reacts to that request. Other time we just want to see what are the responses to figure it out why the app is failing. There are a lot of things we want to test, and sometimes we don’t know how. We can do all of this with Charles. So let’s begin.
-
Install Charles by clicking in the link.
-
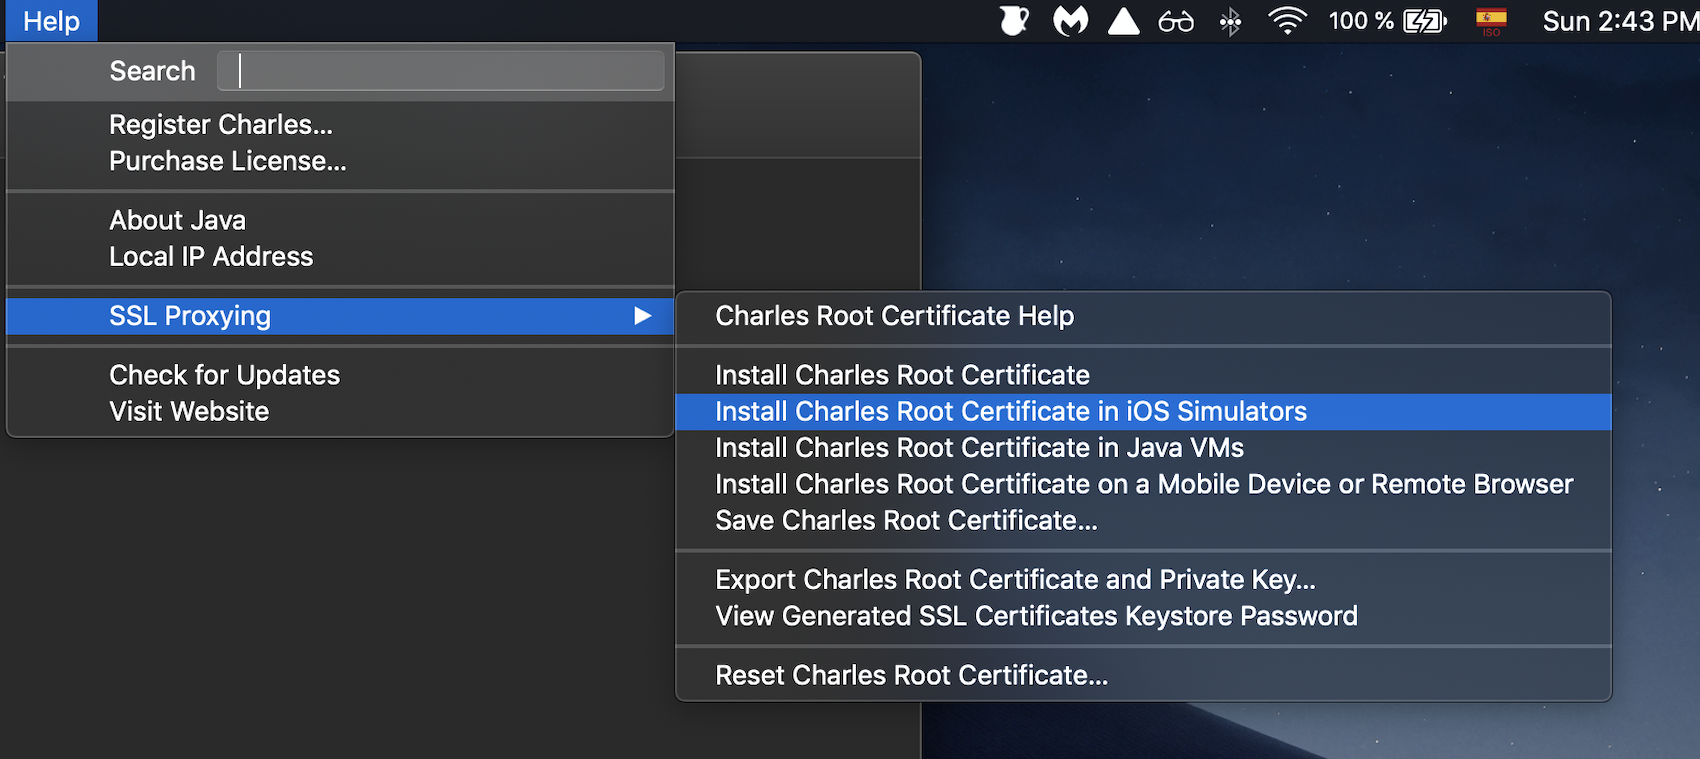
Open Charles and click in the Menu: Help > SSL Proxying, and select Install Charles Root Certificate in iOS Simulators.
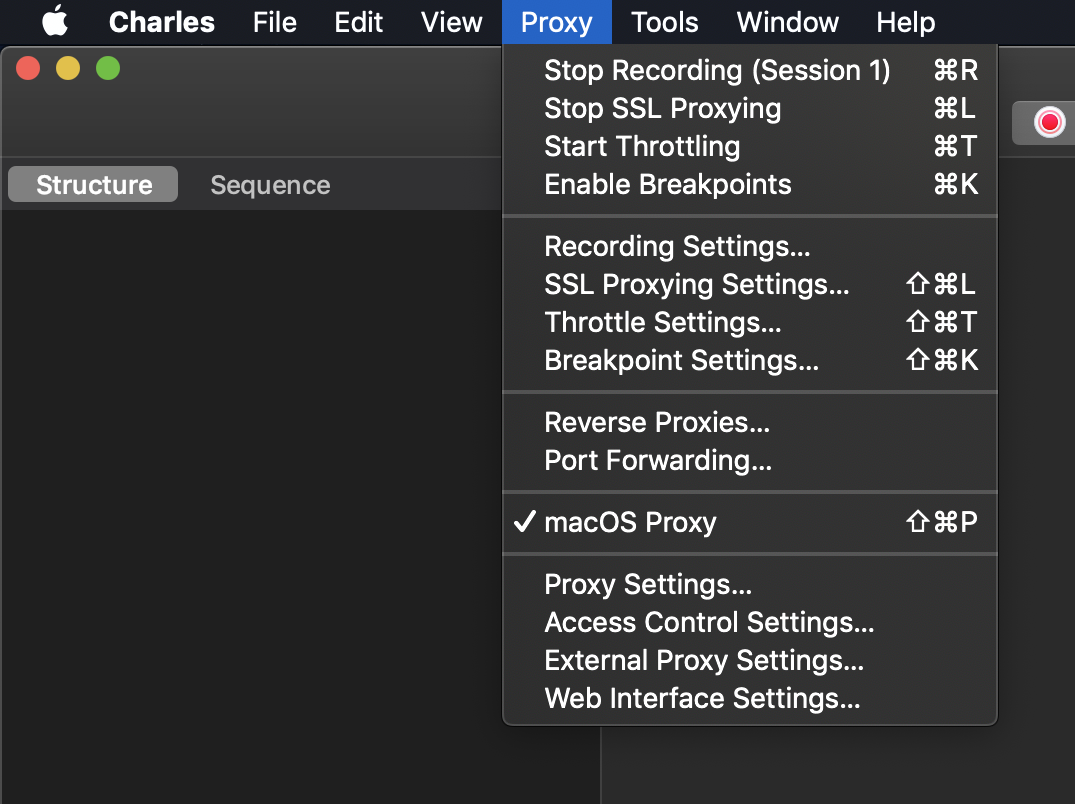
- Now make sure you have the option macOS Proxy selected, so we can listen traffic, so click in the Menu: Proxy > macOS Proxy
- Restart your simulator and make sure you are recording the incoming traffic. You should see in the right bottom a Recording label. If not, just click in Start Recording buttom

-
Run the app in the simulator, and at this moment, you should see the incoming traffic at the left
-
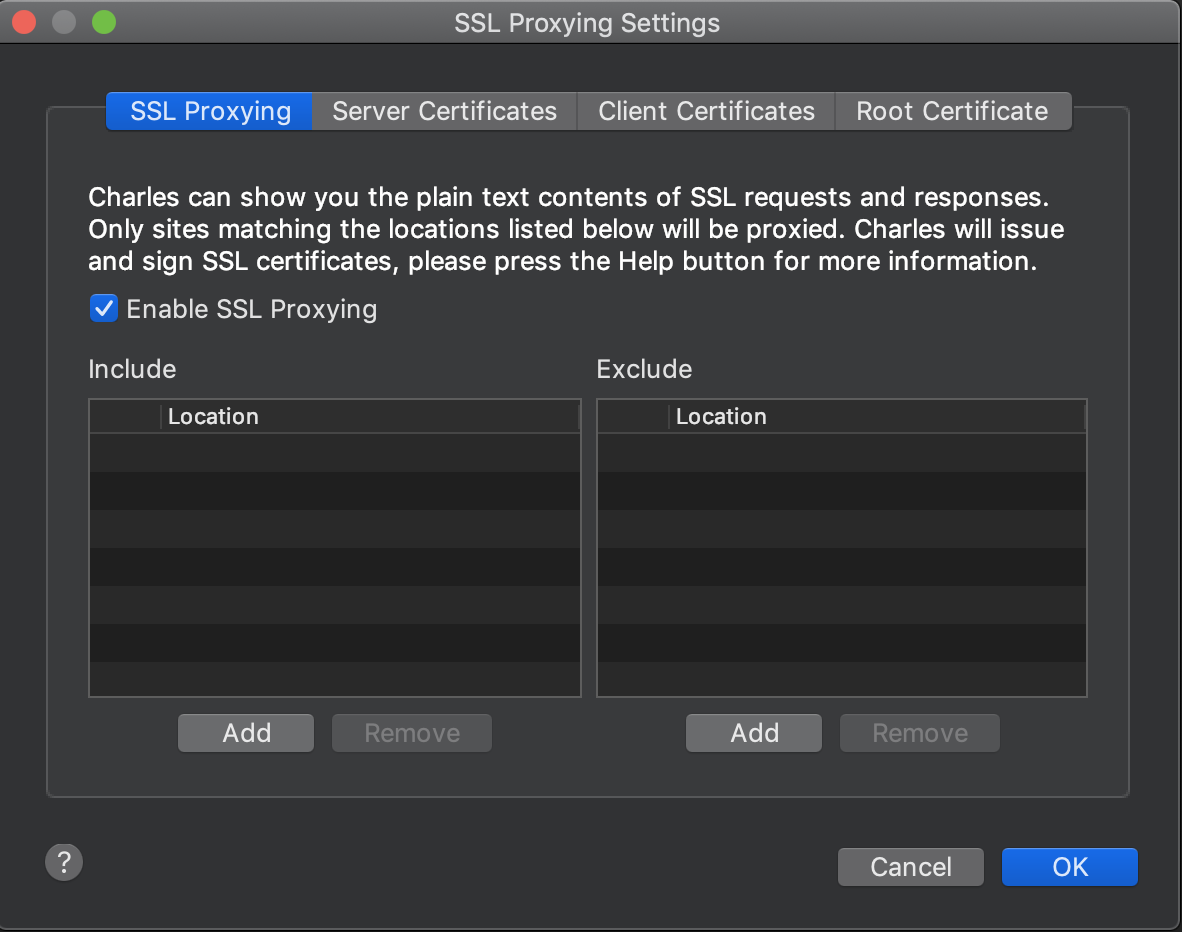
Now, you have to make sure to enable SSL Proxying for the URLs that you want to test. There are two ways of doing this:
-
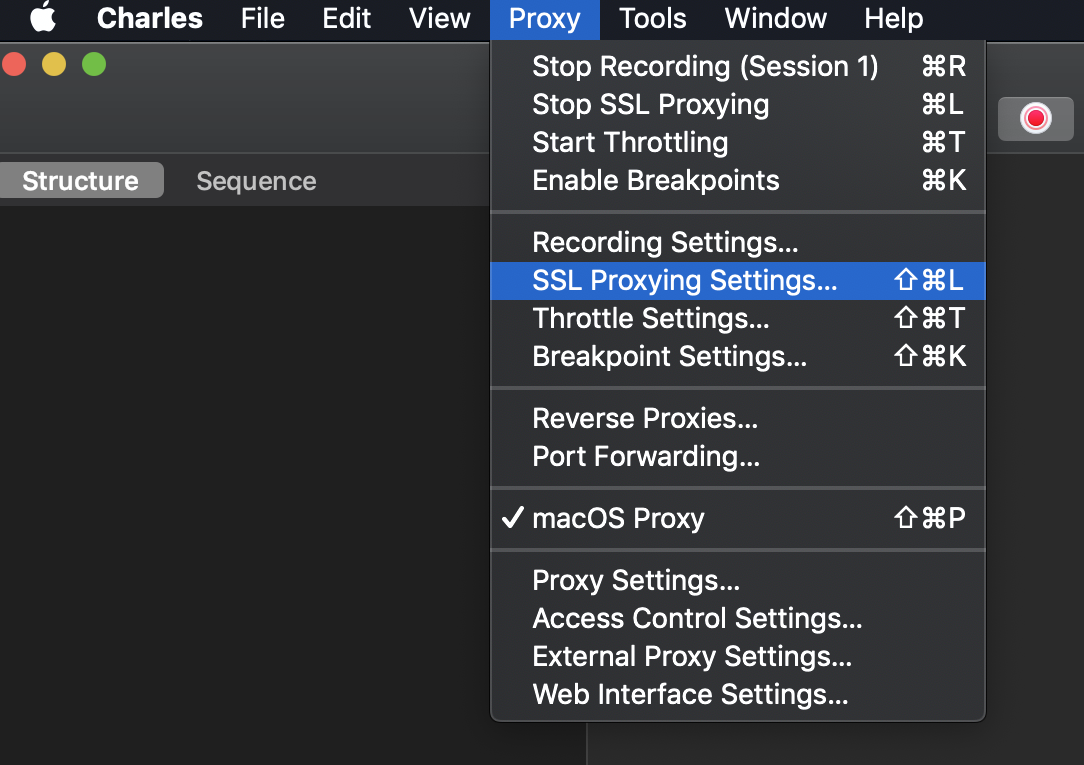
The first way is by clicking in the Menu: Proxy > SSL Proxying Settings and then add the URL that you want.
-
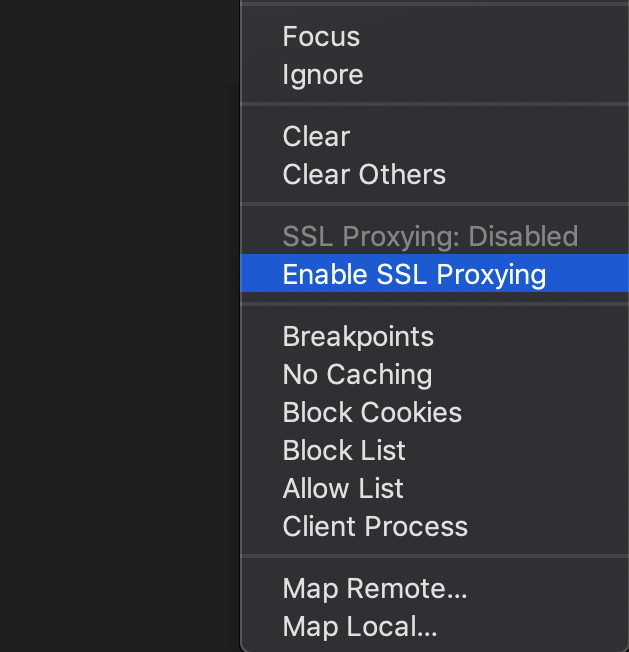
The second way is when you see the incoming traffic in the left view of Charles, just right click the URL that you want and click Enable SSL Proxying
-
Now restart the simulator, and you will see the responses
-
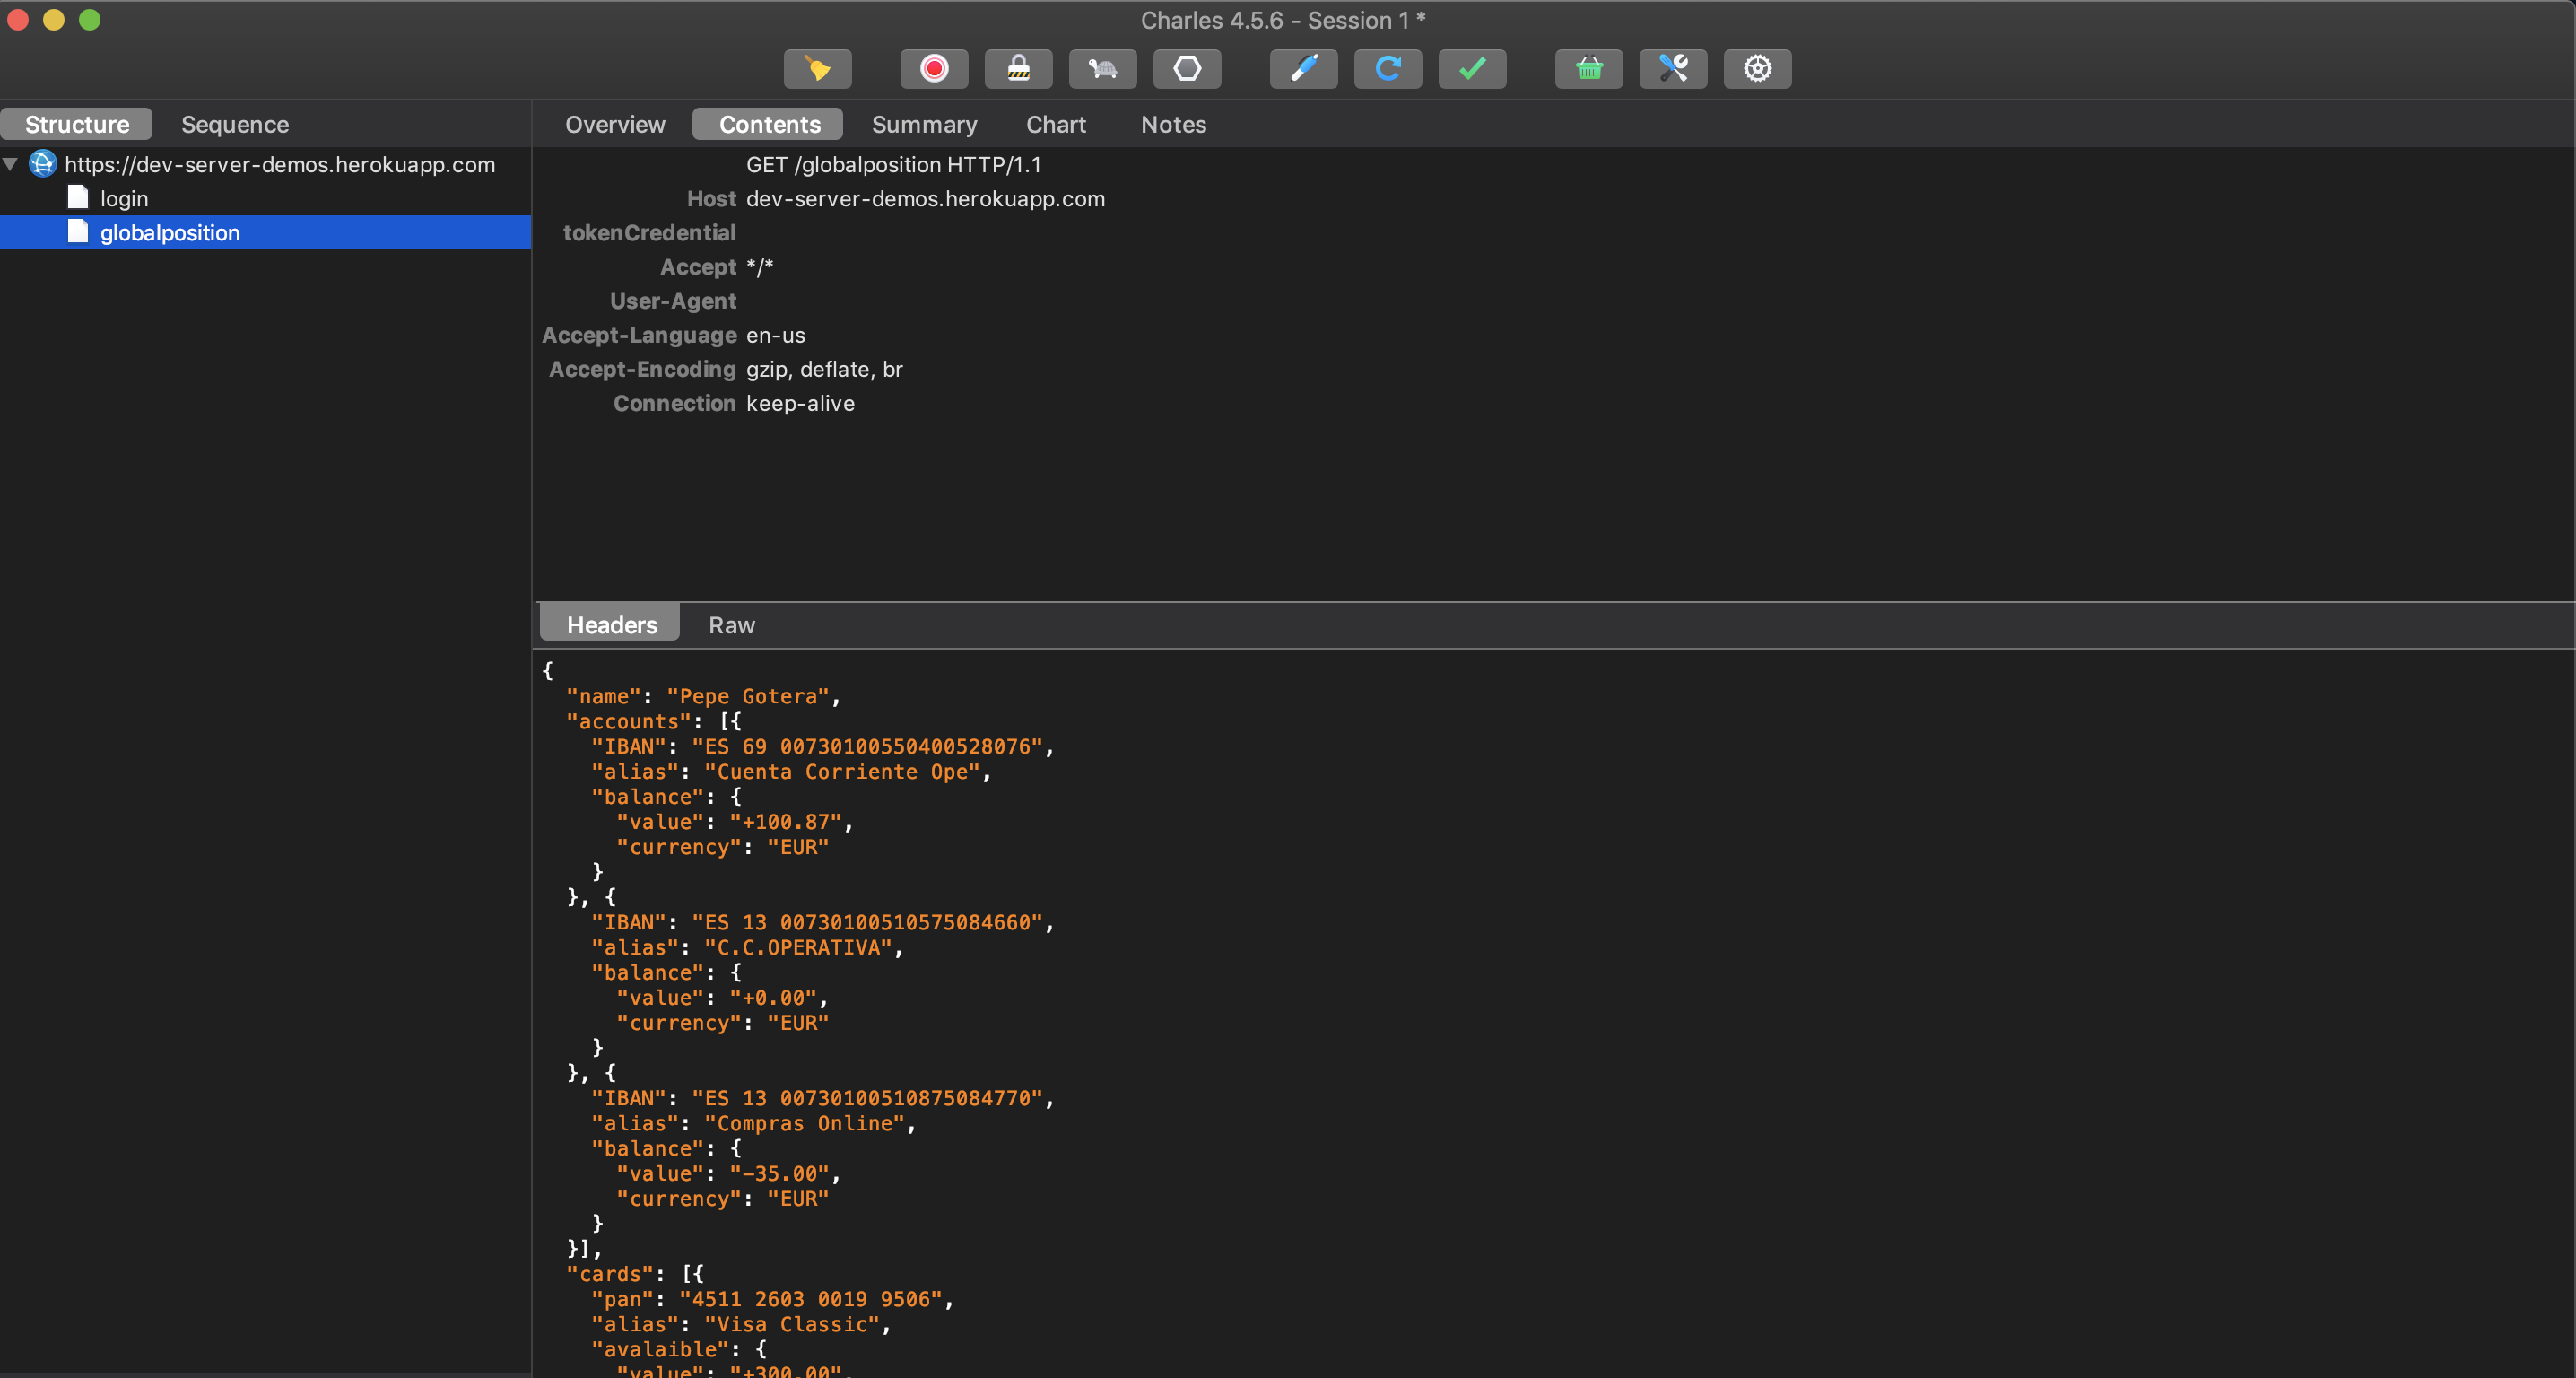
If you click the response, and the Contents you can see the JSON that we are getting. Now we can check why we are getting an error in the app if that is the case.
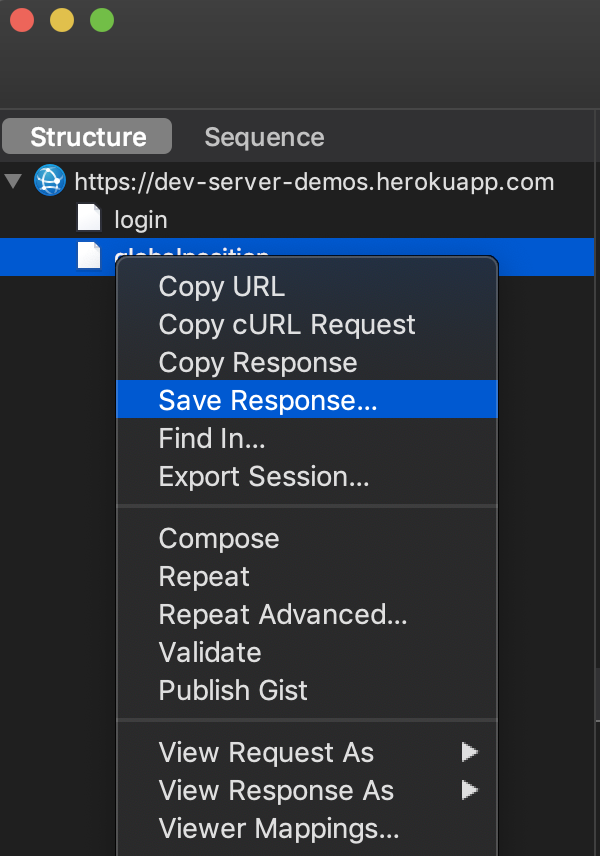
- Let’s map locally some responses so we can mock them. Right click in the response, and click Save Response…
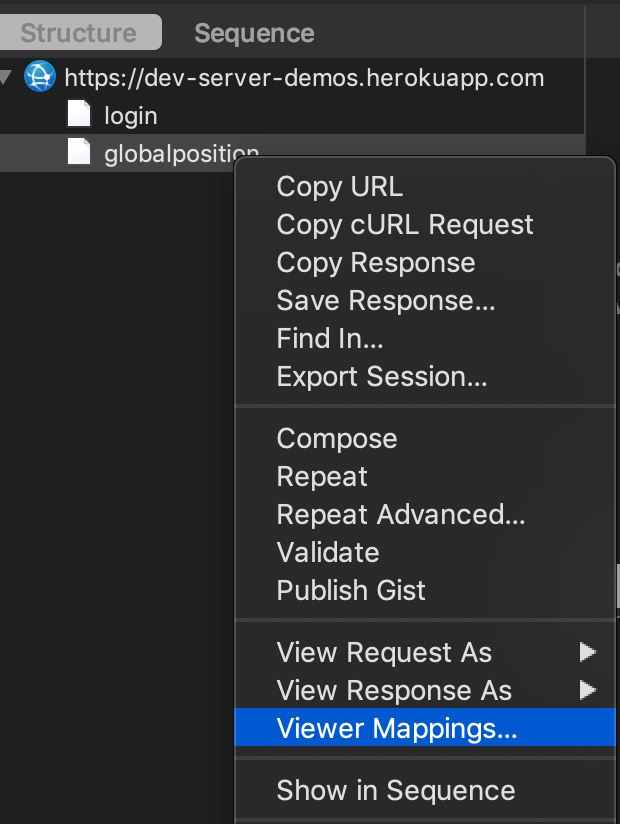
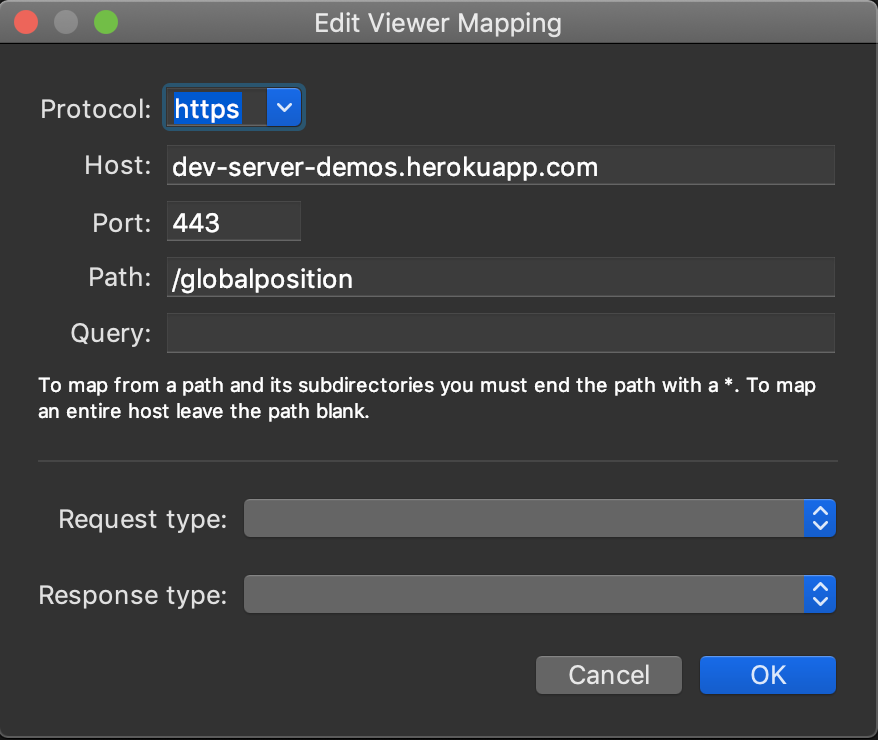
- Now right click in the request and click Viewer Mappings… and copy what the Host, Port and Path are, because we are going to use it next.
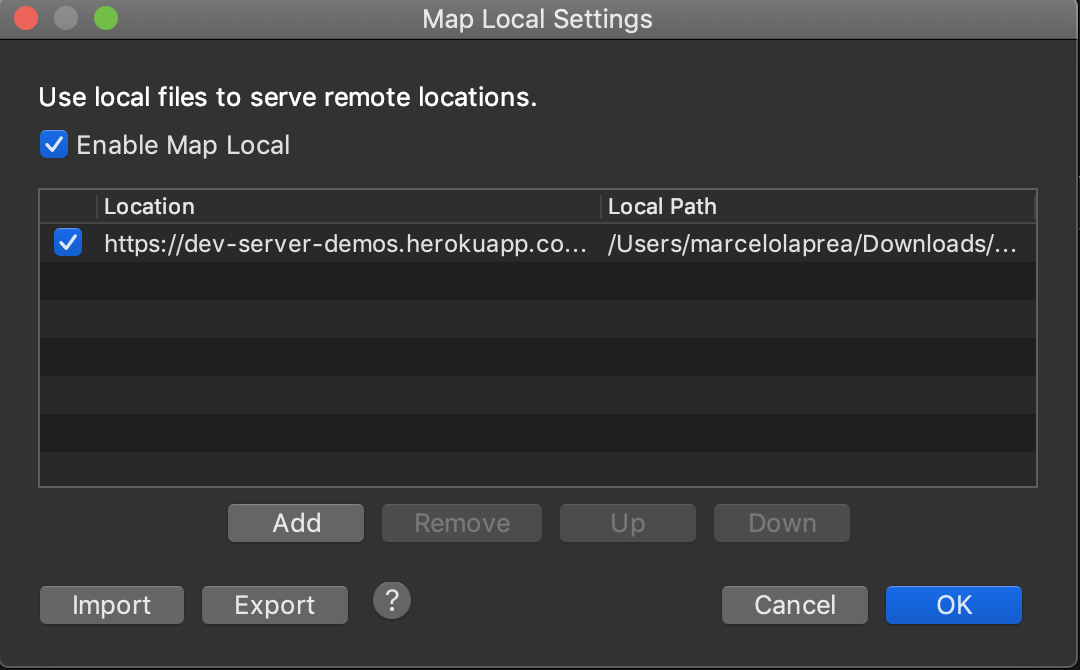
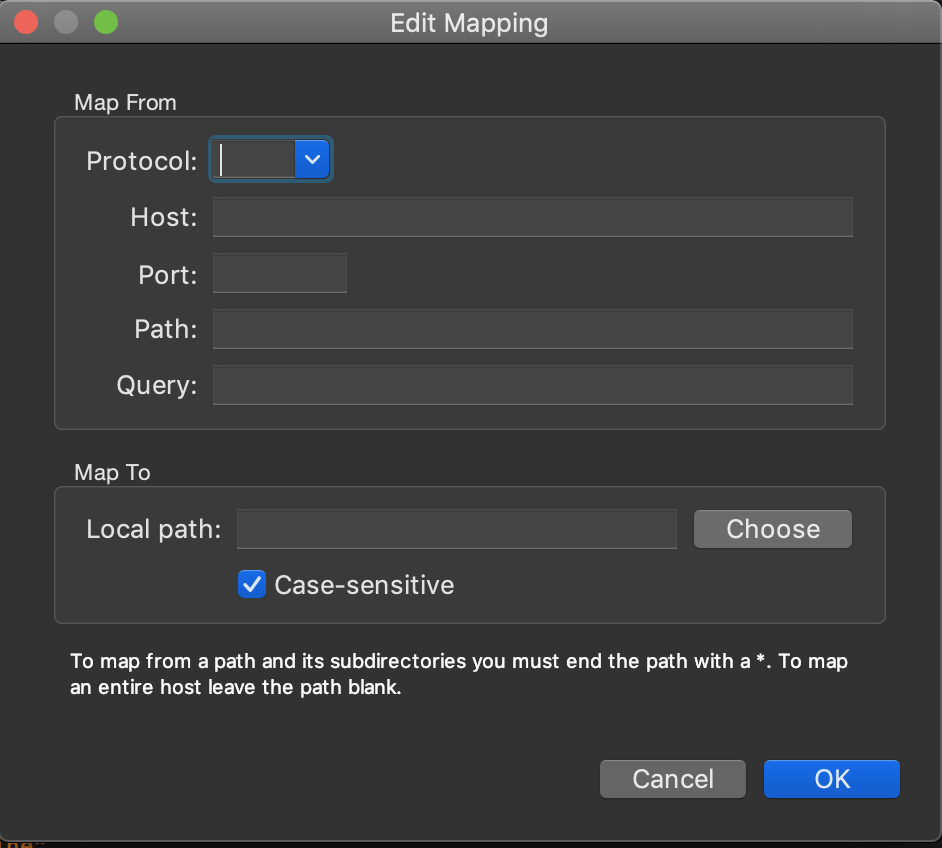
- Now in the Menu click: Tools > Map Local… and add a new one. For Local path: you will select the response that you saved and for Host, Port and Path you will fill it with the information that you got in the previous step.

- Now you can edit the JSON and start testing your network responses